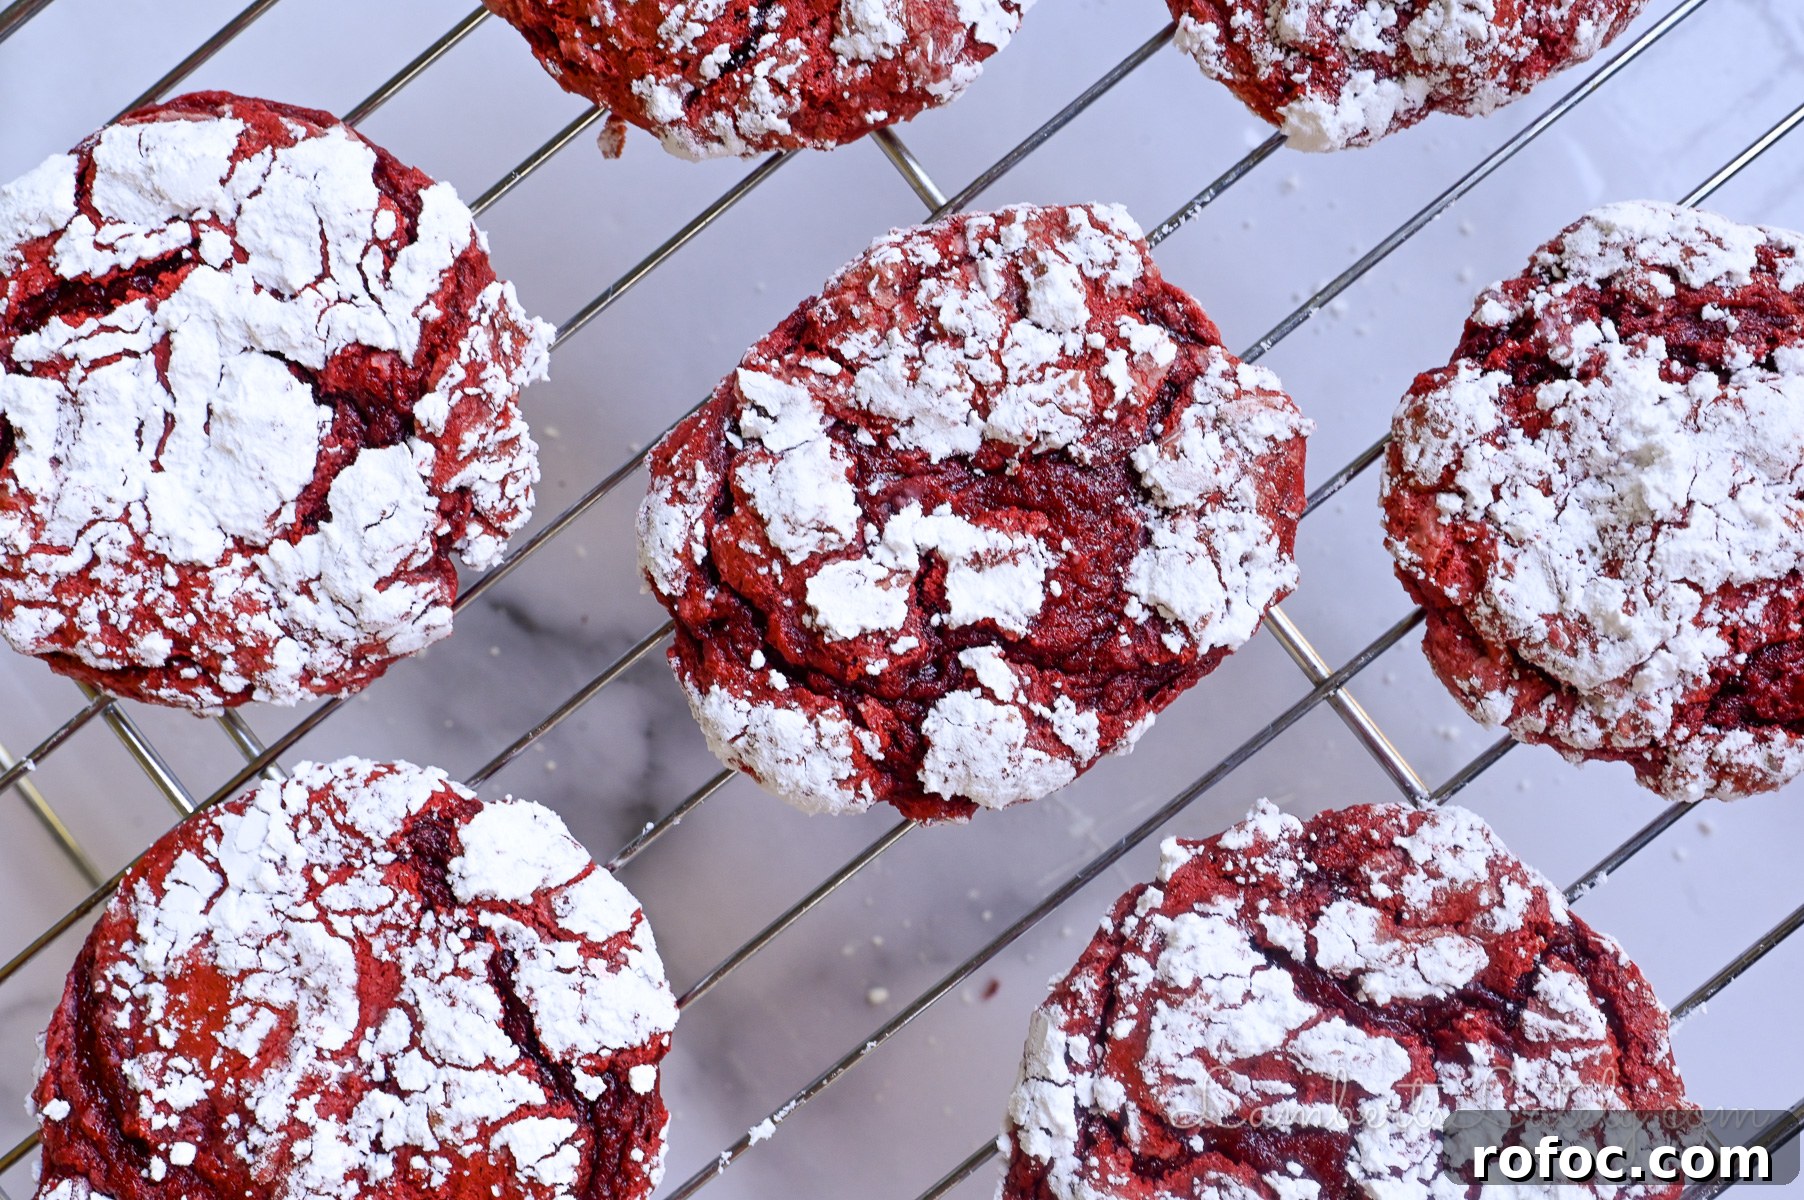
Need a quick cookie that looks fancy but takes almost no effort? These Red Velvet Cool Whip Cookies are an easy shortcut you’ll keep coming back to.
Paid links were originally noted in this post. Link usage details are not included here.
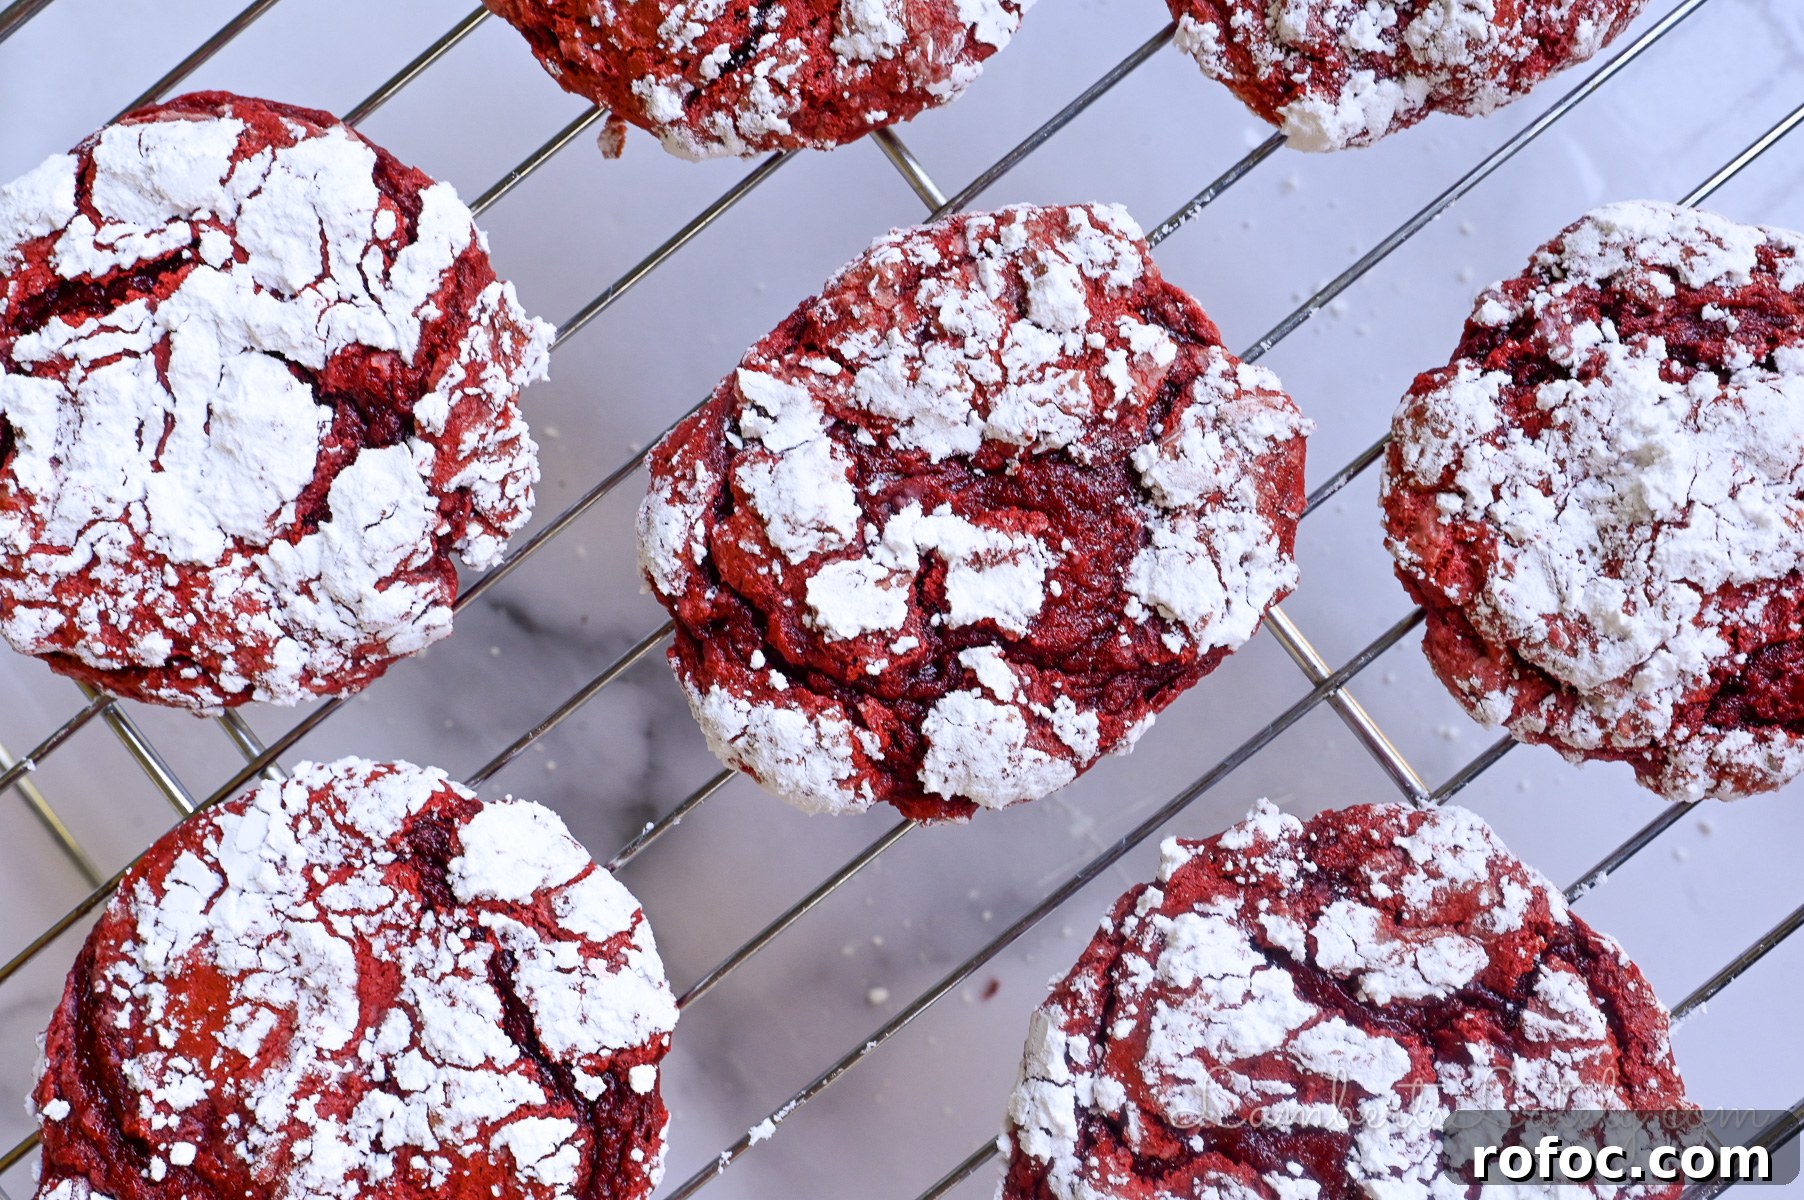
If you enjoyed the original Cool Whip Cookies, try these red velvet Cool Whip cookies. They use the same simple four-ingredient base — cake mix, Cool Whip, an egg, and powdered sugar — but with the deep red velvet flavor that makes them festive and irresistible.
These cookies bake up soft and crinkly, perfect for Valentine’s Day, Christmas cookie trays, or anytime you want an impressive dessert with minimal effort. They look like a fussier treat but come together in minutes.
The best part: once you make these red velvet Cool Whip cookies, the method works with almost any cake mix. Swap flavors, keep the same ratios, and you’ll consistently get pretty crinkle cookies every time.
Why You’ll Love This Recipe
- Only 4 ingredients — cake mix, Cool Whip, an egg, and powdered sugar. Simple and pantry-friendly.
- No mixer required — just a bowl and a spoon; the dough comes together quickly.
- Soft, pillowy texture — the Cool Whip keeps cookies light and tender.
- Perfect for any occasion — great for holidays, parties, or a last-minute dessert.
- Easy to customize — use different cake mixes, add cocoa to the sugar, or press a small chocolate into the top after baking.
- Freezer-friendly — both dough and baked cookies freeze well without losing their crinkle look.
Ingredient Notes
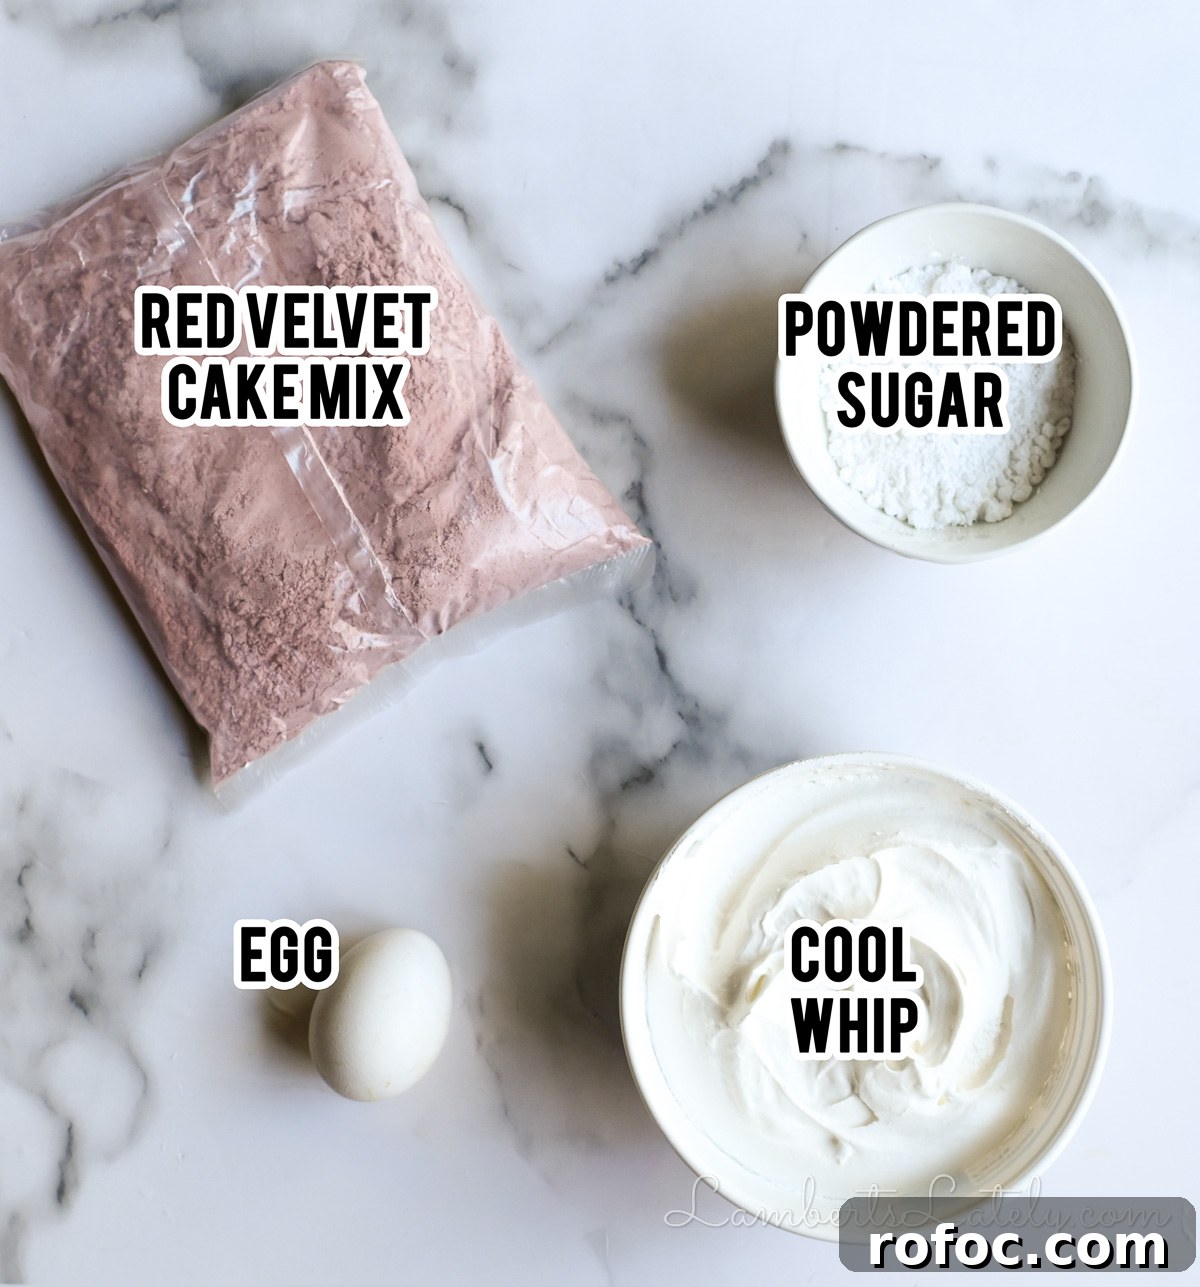
- 15.25 oz red velvet cake mix — use the dry mix only; you won’t need the oil, eggs, or other ingredients called for on the box.
- 8 oz Cool Whip whipped topping — use the regular tub (not fat-free or sugar-free) for best results. Make sure it is fully thawed before mixing.
- 1 large egg — provides structure so the cookies hold their shape.
- ½ cup powdered sugar — used to coat the dough balls to create the classic crinkled, powdered top.
Why Cool Whip Works
Cool Whip isn’t just for convenience — it’s the ingredient that gives these cookies their unique texture. Unlike butter or oil, the stabilized whipped topping contains air and moisture that translate into a light, tender cookie. Stabilizers in the whipped topping help the dough hold its shape so you get pillowy, crinkly cookies that stay soft for days.
Pro tip: skip homemade whipped cream or aerosol whipped toppings — they lack the structure required for consistent results. Use the tubbed whipped topping called for in the recipe.
Variations
- Flavor swaps: use lemon, strawberry, chocolate, or vanilla cake mix for different cookie flavors.
- Coating twist: stir a tablespoon of cocoa into the powdered sugar for a chocolate-dusted finish.
- Stuffed cookies: wrap dough around a mini marshmallow or a Rolo for a gooey center.
If you like rich, chewy cookies, try other recipes that pair well with Cool Whip-style shortcuts for similarly tender results.
How to Make Red Velvet Cool Whip Cookies
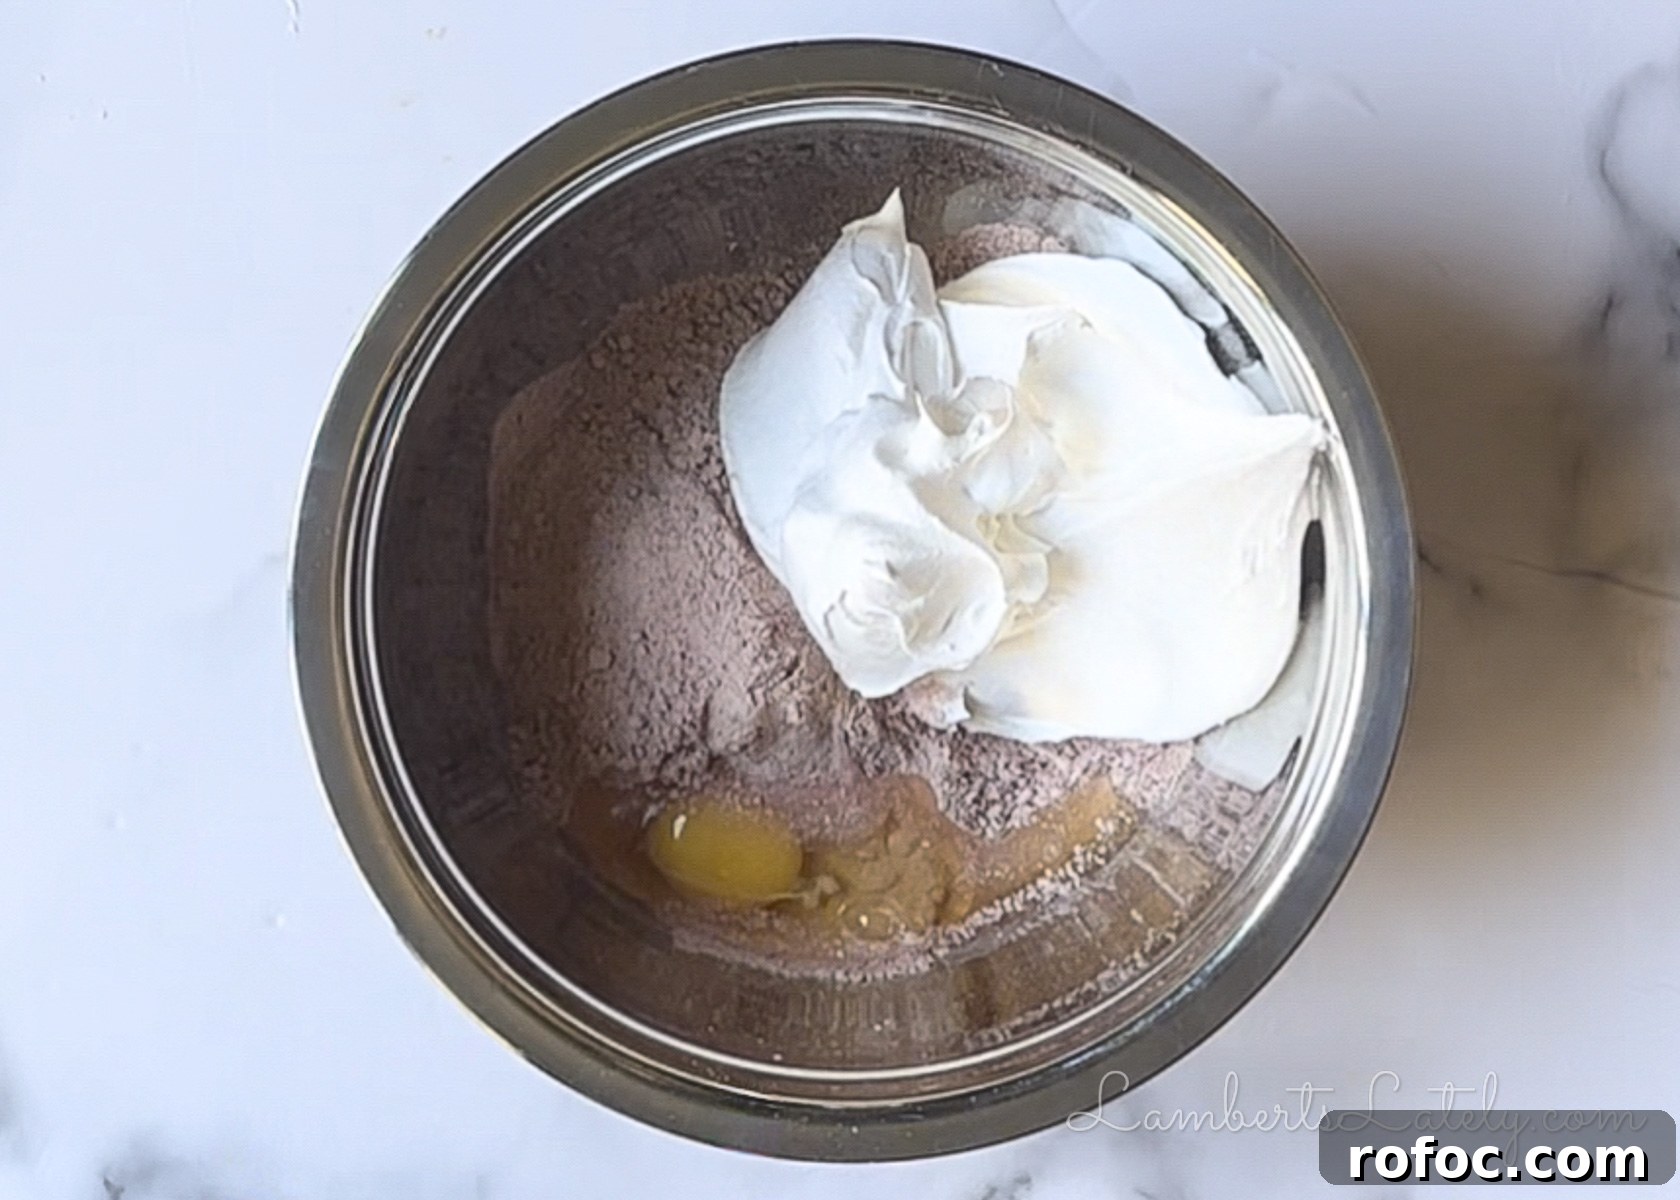
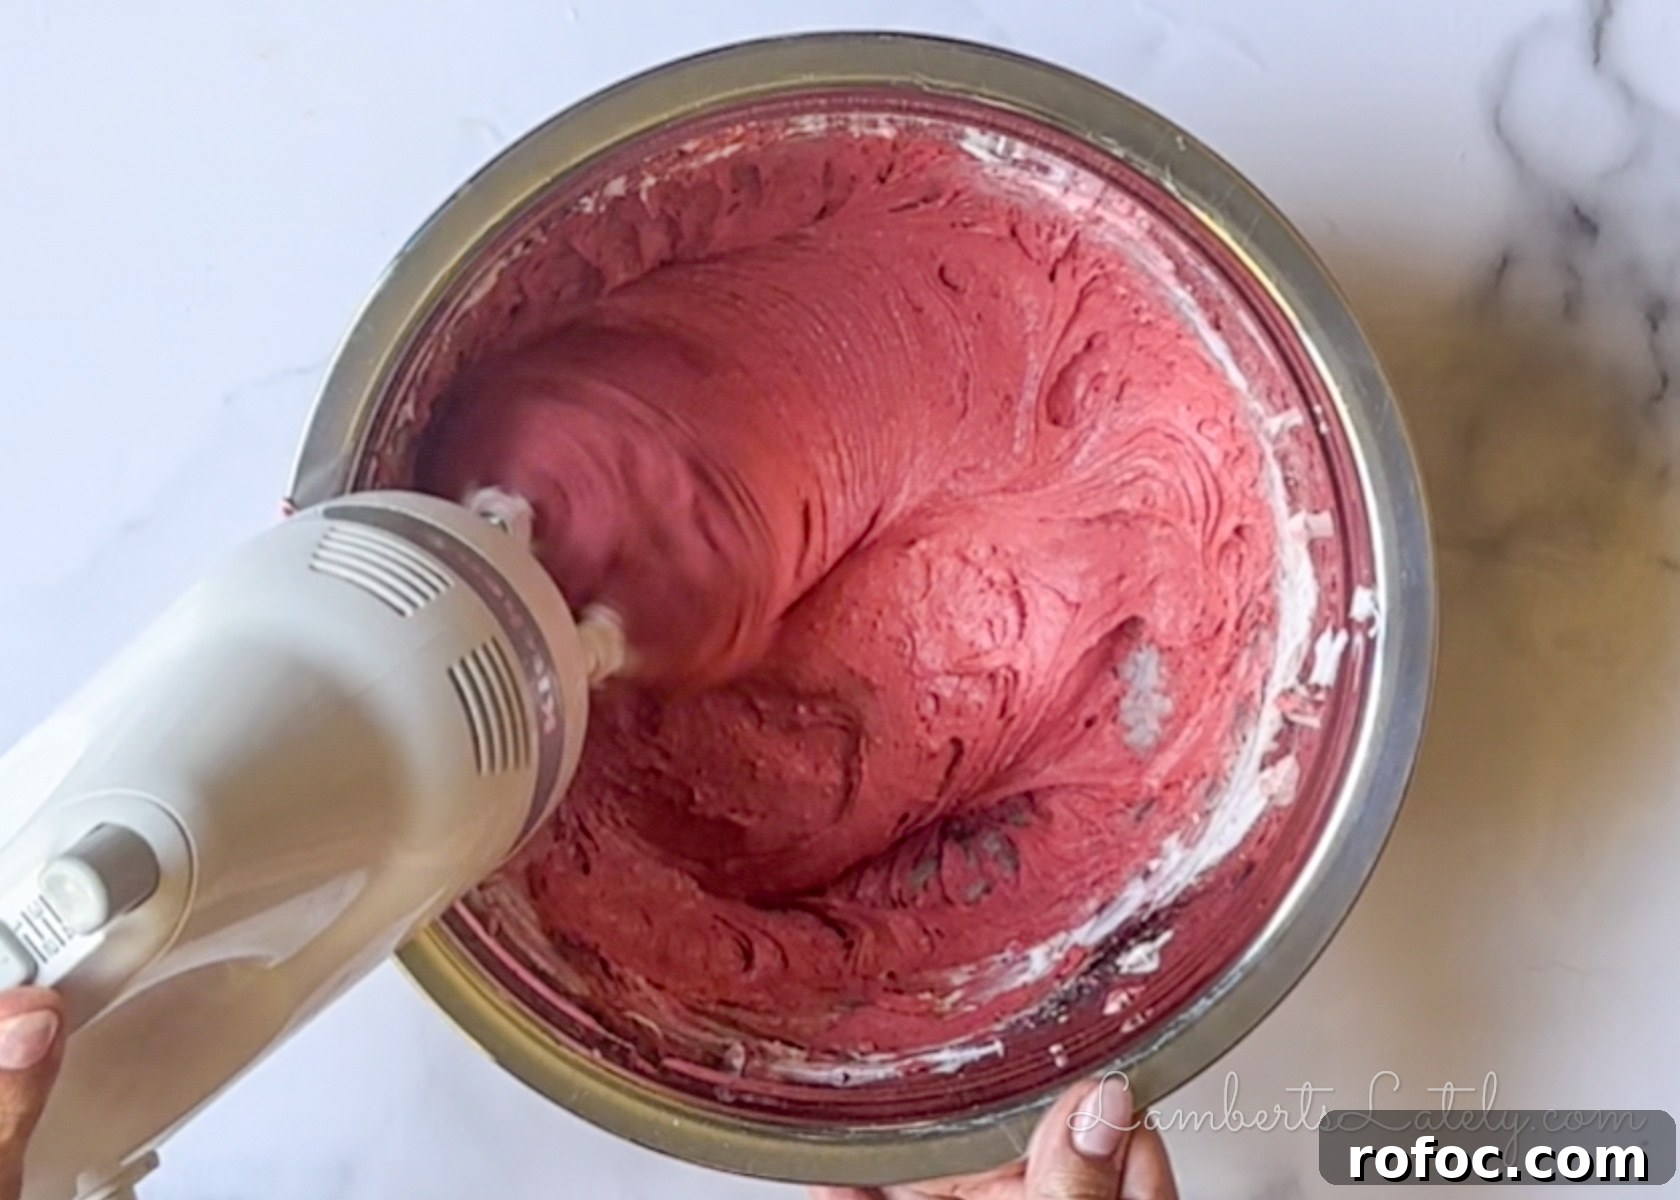
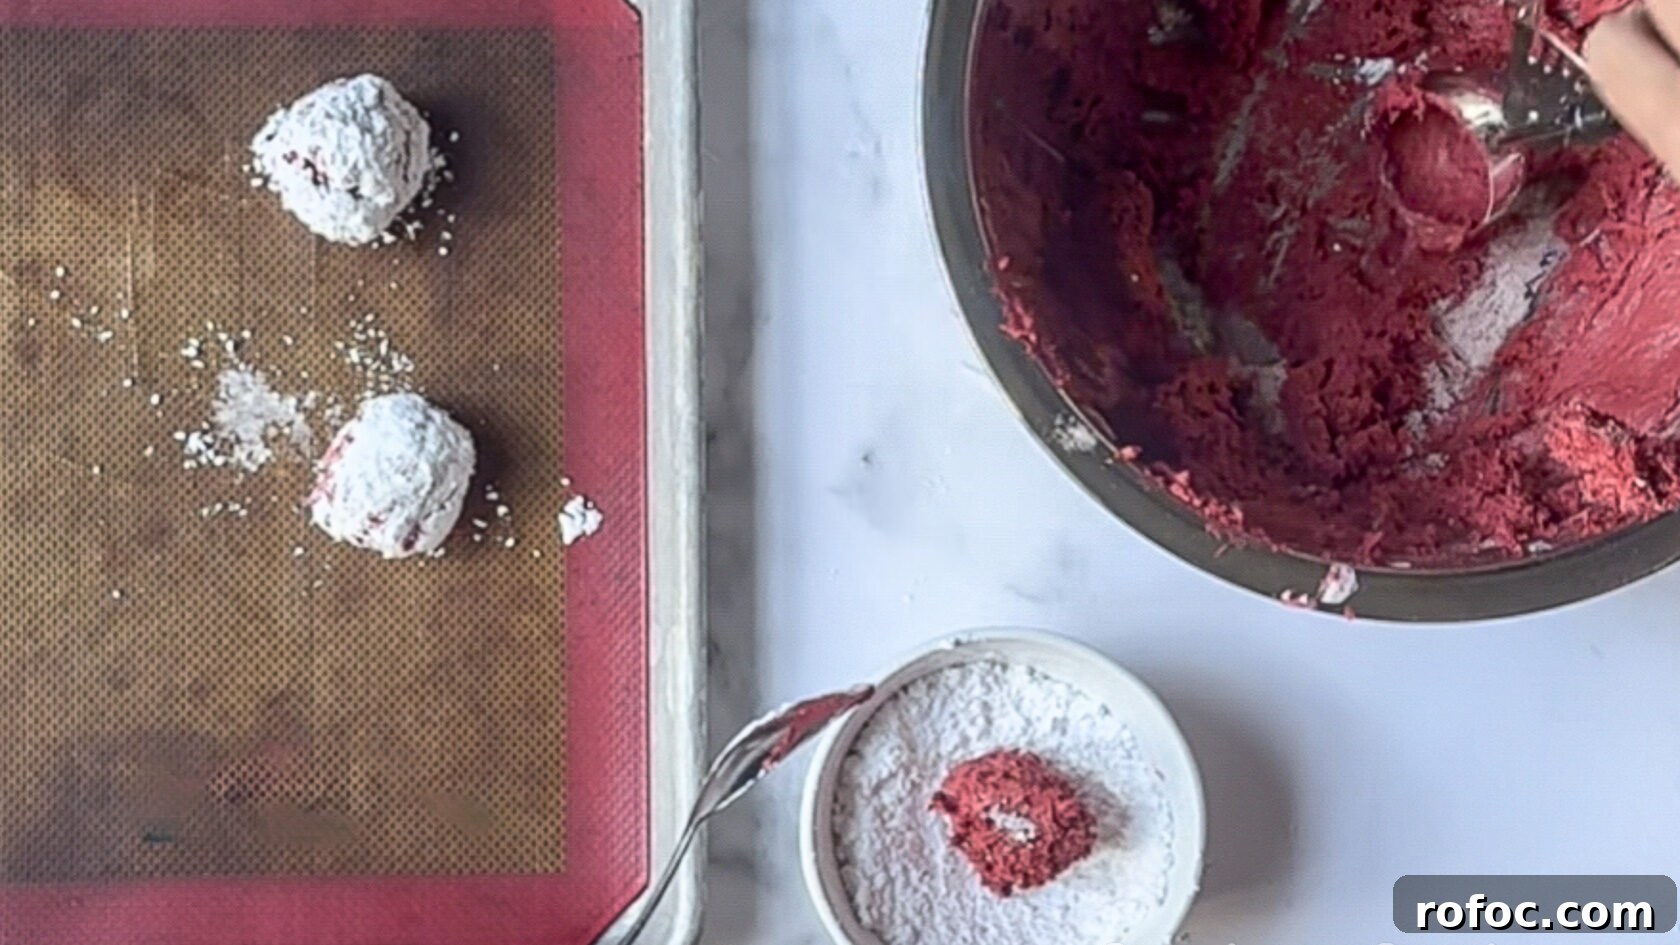
- Preheat the oven to 350°F (175°C) and line a baking sheet with parchment paper or a silicone baking mat.
- In a large bowl, combine 8 oz Cool Whip (thawed), 1 large egg, and 1 box (15.25 oz) red velvet cake mix. Stir until just combined — do not overmix.
- Chill the dough for at least one hour so it firms up and is easier to handle.
- Place the ½ cup powdered sugar in a small bowl. Scoop about 2 tablespoons of dough per cookie, roll into balls, and coat thoroughly in powdered sugar. The dough will be sticky — that’s normal.
- Arrange the coated dough balls on the prepared baking sheet, leaving space between each cookie.
- Bake 9–11 minutes: 9 minutes yields a softer, fudgier center; 11 minutes produces a more cakey cookie. Remove when the edges are set and the tops are crinkled.
- Allow cookies to cool on the baking sheet 10–15 minutes to set, then transfer to a wire rack to cool completely.
Note: chilling the dough is important. Dough that goes straight into the oven tends to spread and become flat; chilled dough holds its shape and yields thicker, puffier cookies with a prettier powdered sugar crinkle.
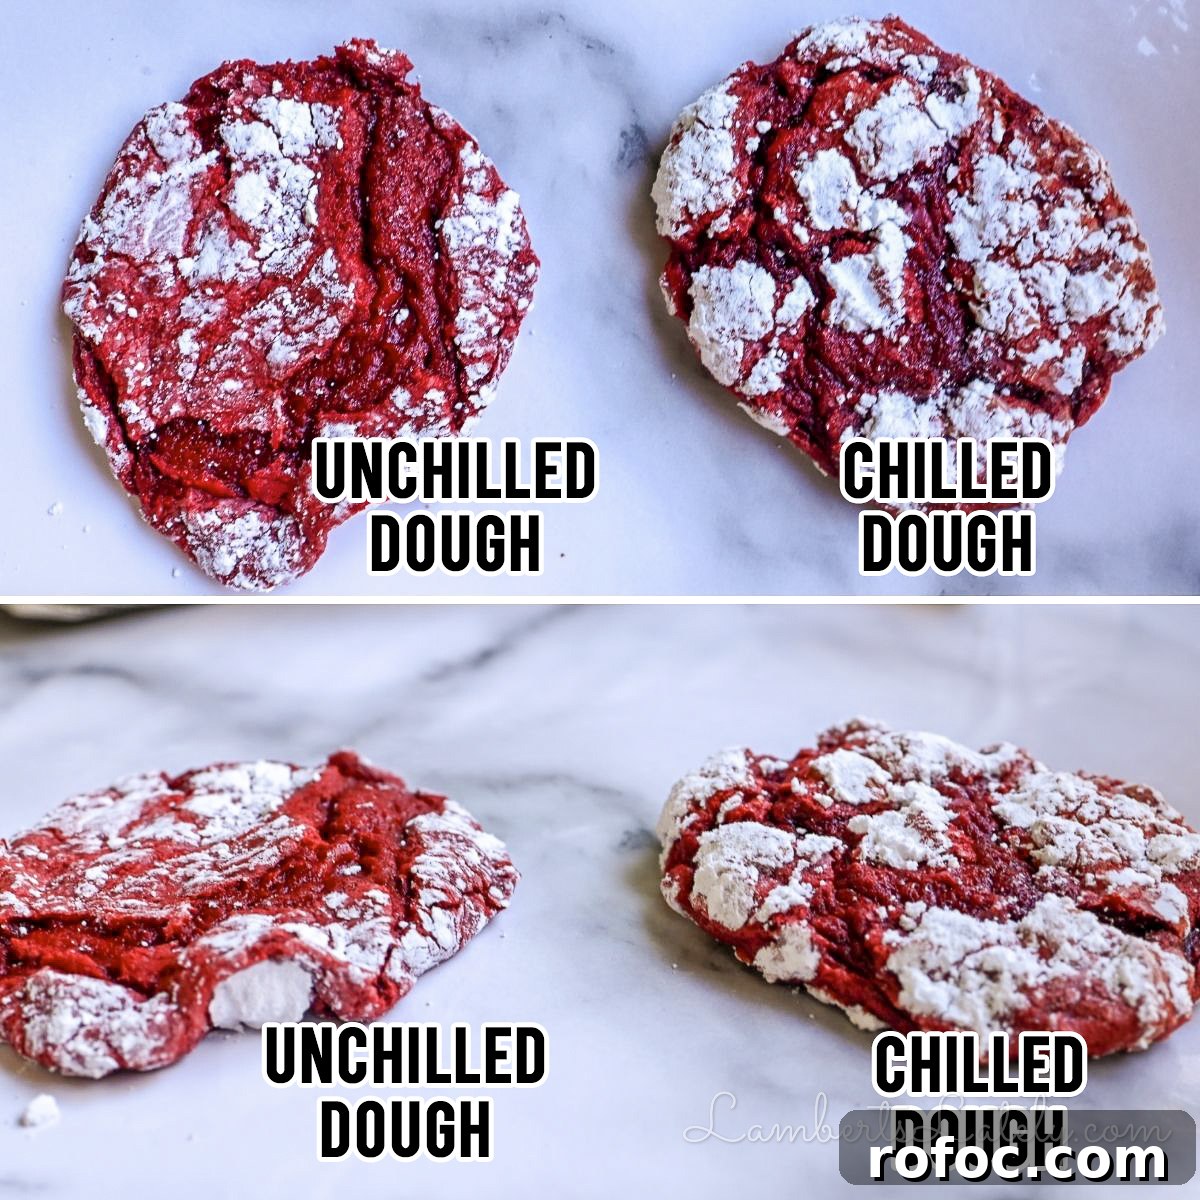
Chilling also helps the powdered sugar stay on the surface rather than melting into the dough as the cookies bake.
Texture Tip
Bake time affects texture significantly. For soft, fudgy centers, pull cookies at around 9 minutes when the centers still look slightly glossy. For a cake-style cookie, bake closer to 11 minutes until the tops lose their shine and spring back lightly when touched. Each oven varies, so test one or two cookies first to find the ideal timing for your oven.
Step-by-Step Recipe Video
A step-by-step video was part of the original content; follow the recipe instructions above and use the photo sequence to guide preparation if you do not have access to the video.
Storage & Freezing
Storage: Store fully cooled cookies in an airtight container at room temperature for up to four days. Place parchment or wax paper between layers to protect the powdered tops.
Freezing: Freeze baked cookies in a single layer on a sheet until firm, then transfer to a freezer-safe container or bag. They keep up to three months; thaw at room temperature before serving. For stacked storage, place parchment between layers to prevent sticking.
Freezing dough: You can freeze unbaked, sugar-coated dough balls on a baking sheet until solid, then move them into a freezer bag. Bake from frozen and add 1–2 minutes to the bake time.
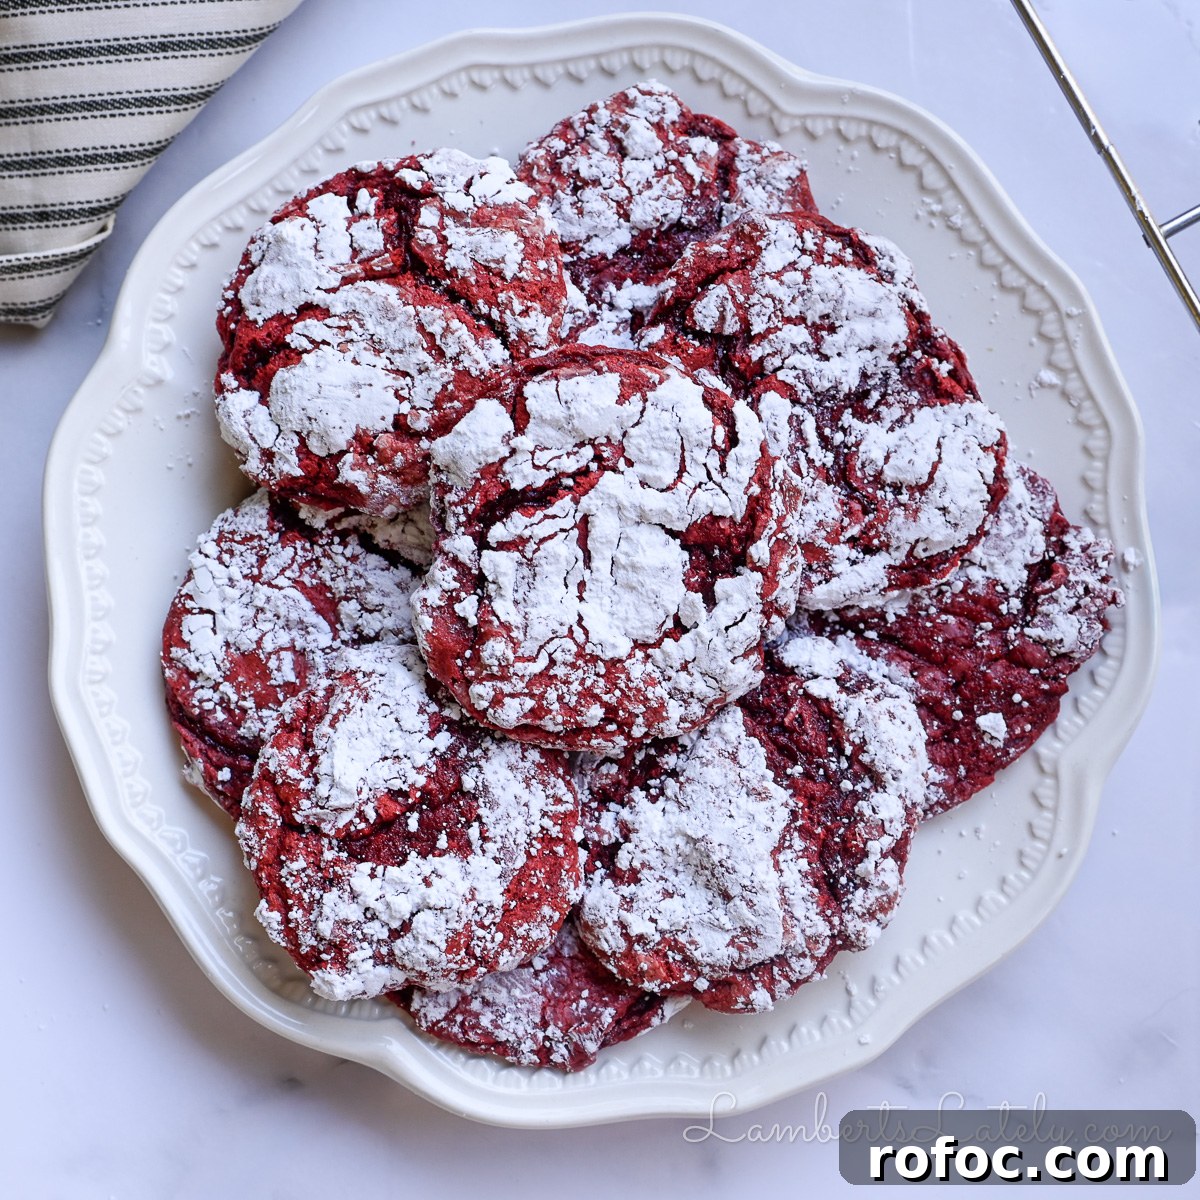
Tips, Tricks & Troubleshooting
- Let cookies cool completely before storing; warm cookies can cause the powdered sugar to absorb moisture and fade.
- Use a cookie scoop (about 2 tablespoons) for even sizing and consistent bake results.
- If the dough is too sticky to roll, chill another 10–15 minutes or dust your hands with powdered sugar to prevent sticking.
- After coating dough balls in powdered sugar, gently tap off excess to avoid the sugar burning or discoloring in the oven.
- For a festive touch, press a mini chocolate heart or a small candy into the warm center of each cookie after baking.
- Yield: this recipe makes about 20–22 cookies depending on scoop size.
FAQs
No — homemade whipped cream typically won’t hold the same structure. The store-bought tubbed whipped topping contains stabilizers that help the dough maintain shape and texture. For best results, use the Cool Whip-style tub.
Use an ungreased parchment or silicone mat, chill the dough for at least an hour, avoid over-mixing, and use a consistent 2-tablespoon scoop. Space dough balls about 2–3 inches apart to allow for gentle spreading.
If dough is too warm when rolled or cookies are stored while still warm, the sugar can absorb moisture and melt into the surface. Make sure dough is chilled, coat generously, and cool cookies completely before storing.
If your box size is within about an ounce of 15.25 oz, the recipe will work without adjustments. If your box is noticeably smaller, you may need to reduce the Cool Whip slightly or expect a small change in texture.
Hope you enjoy this one! Let me know how your cookies turn out and feel free to leave a rating or review where you found this recipe.

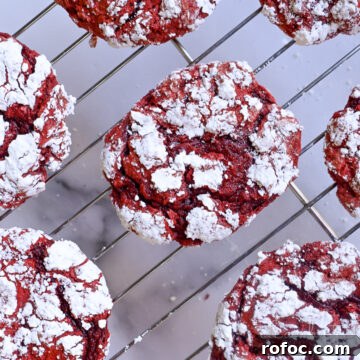
Red Velvet Cool Whip Cookies
Ingredients
- 15.25 oz red velvet cake mix (1 box)
- 8 oz Cool Whip whipped topping (thawed)
- 1 large egg
- ½ cup powdered sugar
Instructions
- Preheat oven to 350°F. Line baking sheet with parchment or silicone mat.
- In a large bowl, mix Cool Whip, egg, and cake mix until just combined.
- Chill the dough for at least one hour to firm up.
- Place powdered sugar in a small bowl. Scoop 2 tablespoons of dough, roll to coat, and place on the baking sheet.
- Bake 9–11 minutes depending on desired texture: shorter for fudgy, longer for cakey.
- Cool on the sheet 10–15 minutes, then transfer to a rack to finish cooling.
Notes
- Use regular Cool Whip (not fat-free or sugar-free) for the best texture.
- If dough is too sticky to roll, chill another 10–15 minutes or dust hands with powdered sugar.
- Bake 9 minutes for soft, fudgy cookies or 11 minutes for a cake-like cookie.
- Cookies set as they cool, so avoid over-baking.
- Store baked cookies in an airtight container up to 4 days, or freeze up to 3 months.
- Freeze unbaked dough balls and bake from frozen, adding 1–2 minutes to the time.
- For a festive finish, press a small chocolate into each cookie while warm.