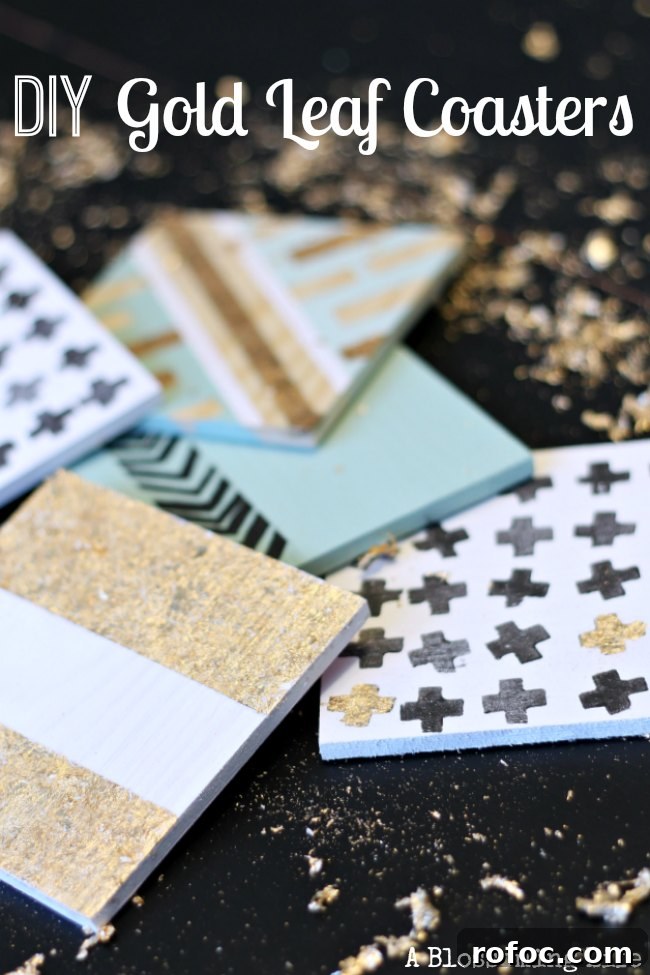
Tis the season — wedding and party season! These custom gold leaf coasters make wonderful DIY wedding favors, hostess gifts, or stylish additions to your own living room. This is an easy and rewarding craft anyone can do. The idea was inspired by a high-end store but adapted here into a simple, budget-friendly project you can customize to suit your taste.
DIY Custom Gold Leaf Coasters
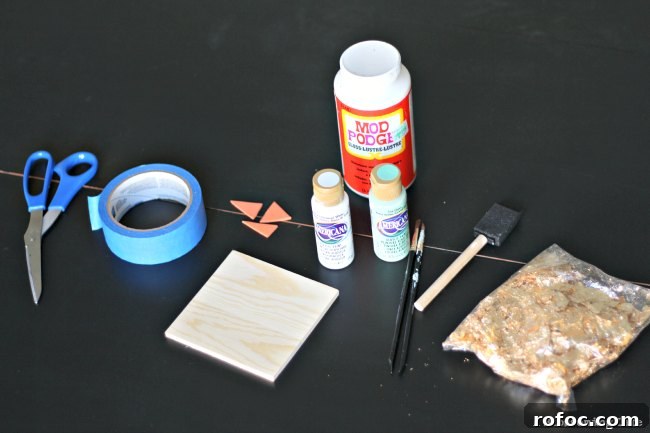
Materials:
- Gold leaf sheets (or gold leaf flakes)
- Craft paint in colors of your choice
- Coasters—plain wooden, ceramic, or cork coasters work well
- Paint brushes in varying sizes
- Mod Podge or other water-based clear glue
- Painters tape
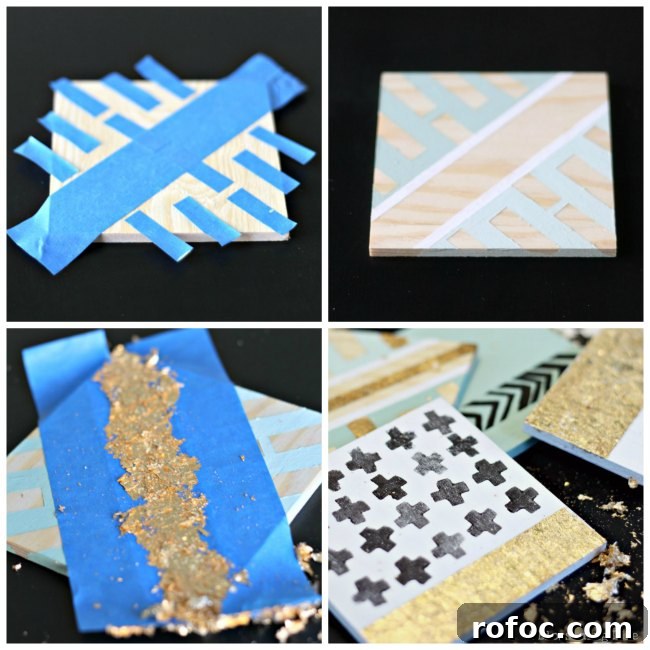
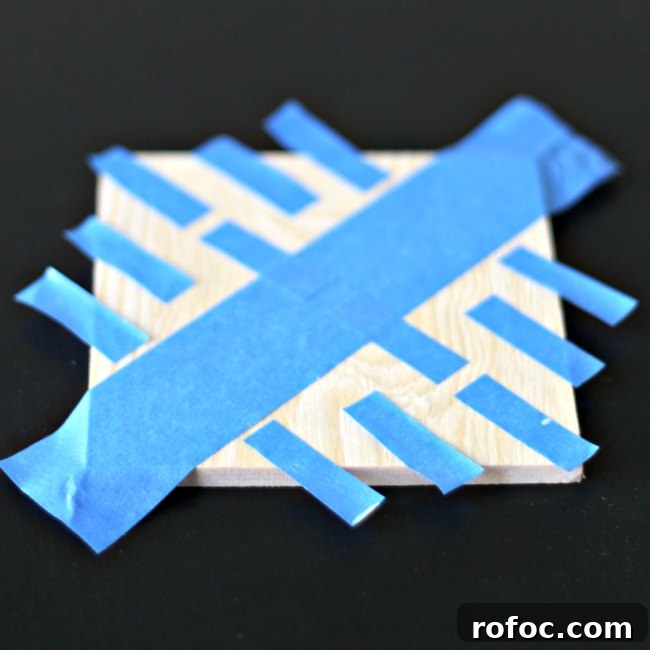
Directions: Start by deciding on a design. Simple geometric patterns look chic, but you can also create organic shapes, stripes, or stamped motifs. For clean, crisp lines, use painters tape to mask off areas; cut the tape into strips of various widths and arrange them on the coaster until you’re happy with the layout. A key technique for sharp edges is to brush two thin coats of Mod Podge over the edges of the painters tape, allowing each coat to dry completely before applying paint. This seals the tape edge and prevents paint from bleeding under it.
After the Mod Podge is dry, apply your chosen craft paint to the exposed areas. Use thin coats and let each coat dry before adding the next so the surface stays smooth. When the paint is fully dry and the tape is removed, you can apply gold leaf to accent areas or cover entire sections of the coaster.
To apply gold leaf: brush a generous, even layer of Mod Podge (or a glue recommended for gold leaf) onto the area where you want the gold. Work carefully — gold leaf is fragile. Using a dry, soft brush, lift sheets of gold leaf and lay them gently onto the tacky glue, avoiding direct contact with your fingers as much as possible. Press the leaf lightly with the soft brush so it adheres, then allow it to dry completely. Once dry, brush away the excess gold gently; you can reapply leaf in sparse spots to get solid coverage.
Seal the finished coasters with a clear sealer designed for mixed media or with additional coats of Mod Podge for extra protection. Choose a sealer suitable for surfaces that will get occasional moisture to ensure the gold leaf and paint hold up well over time.
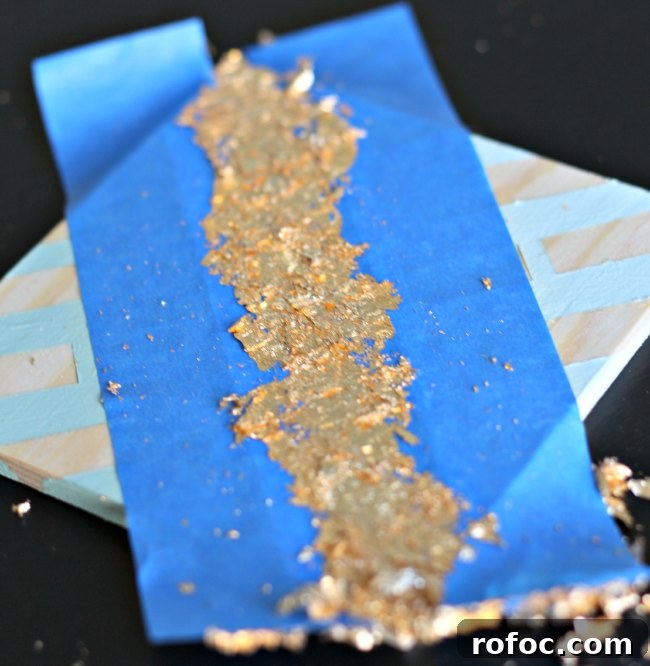
If you want additional decorative detail, try making a simple stamp from foam or a carved eraser to press patterns into painted areas before sealing. Stamps add a personalized touch and can create repeating motifs or initials for wedding favors. Affix the stamp on a small block and test on paper before stamping your coasters so you get the size and pressure right.
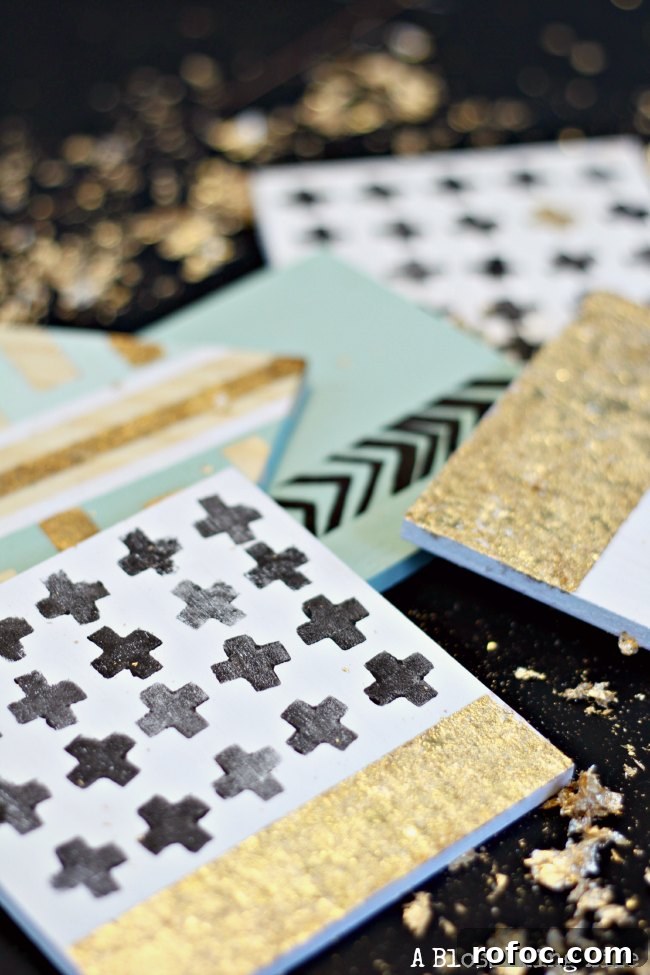
These same techniques translate well to other projects: update small furniture accents, picture frames, trays, or canvas art with gold leaf and painted patterns. The combination of bold metallics with matte painted surfaces is trendy and versatile, and it’s easy to adapt the scale of the pattern for different pieces.
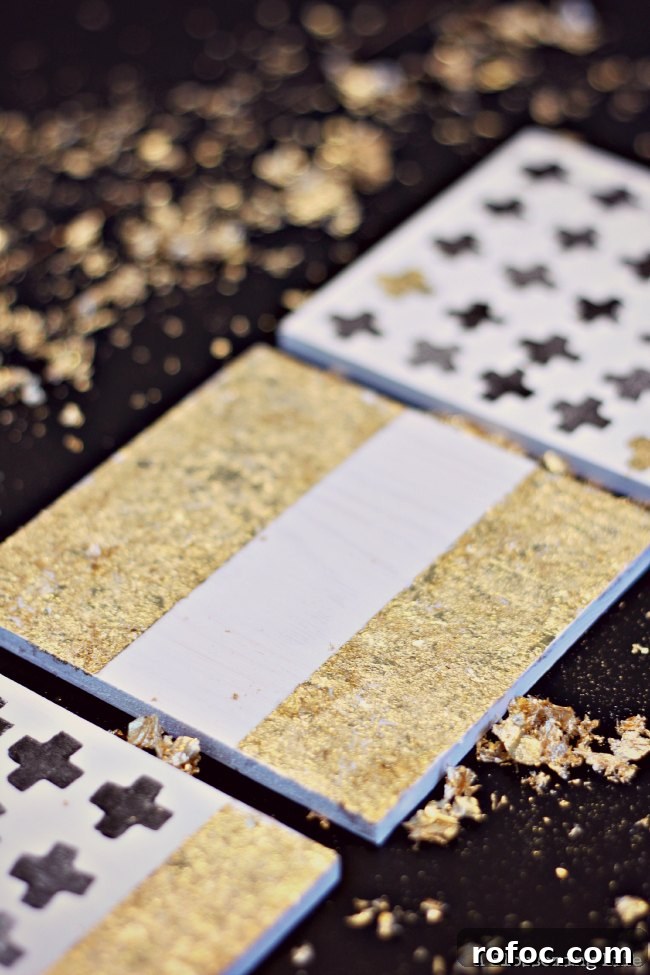
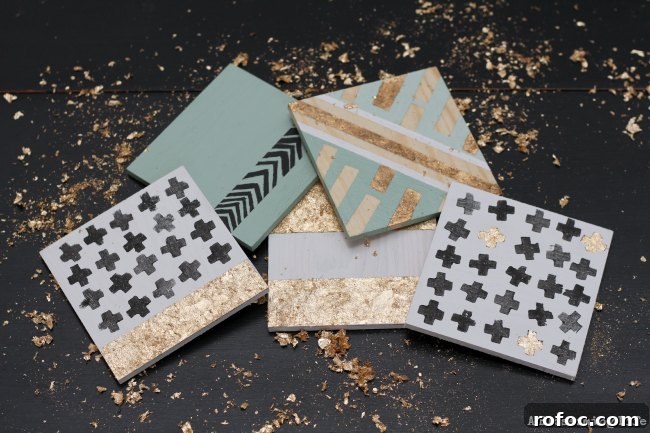
What will you create with these techniques? Whether you make a coordinated set as a gift or experiment with different shapes and colors for your home, gold leaf adds an elegant, handmade touch. This tutorial highlights simple steps and practical tips so you can achieve polished results without expensive supplies or advanced skills.
This post was originally published on Smart School House.